
A whole lot of my DIY process is trial and error, and a lot of time, there’s a whole lot of error. But I’m generally okay with the errors because they help me to learn and keep my brain in problem solving mode. Sometimes (maybe even most of the time), I can work through the errors and come up with a solution to the problems. But other times, I have to scrap an idea and come up with another idea altogether. Either way, I almost always enjoy the process because I love learning, and I love the challenge of working through problems when they arise.
With that said, I’m still working on my entryway console. I still don’t have it all figured out, but what I do know for sure is that I’m going to end up with a console table that I love. I won’t stop until I’m there. Y’all know me well enough to know that by now. And with our current rainy weather that prevents me from working on my outdoor projects, this is the perfect time for me to have fun with this project until I get it right.
First, let me address one thing from my last post about this console table. I mentioned in that post that the man at the Benjamin Moore store had told me to wipe down the entire thing with acetone and then try the gel stain. And then I mentioned that I skipped that step. I’ve never seen such a backlash in my comments over one of my decisions before. Heck, I even got one “shame on you”. 😀
Well, the reason I didn’t use acetone is because I didn’t think it was needed. He was recommending that without having ever seen my console table. And when I told him it was waxed, I think he probably pictured something in his mind like the pieces that are sold at resell stores where people buy old furniture, paint and wax them very quickly, and then resell them at a profit. They turn those pieces out very quickly in order to make as much profit as possible. I’ve been in those stores. I’ve seen those pieces. I’ve felt those pieces with that waxy buildup where I’ve thought to myself, “Did you even buff this thing?”
My console table wasn’t like that. Not only is it an older piece that has been cleaned many times over the years, which removes a bit of wax each time, but I buffed the heck out of it when I waxed it. So I knew that it didn’t have much wax on it to begin with. The color that was creating the problem wasn’t coming from the wax. The orange color was coming from the stain that I used before I waxed it. It’s the stain that’s the problem, not the wax.
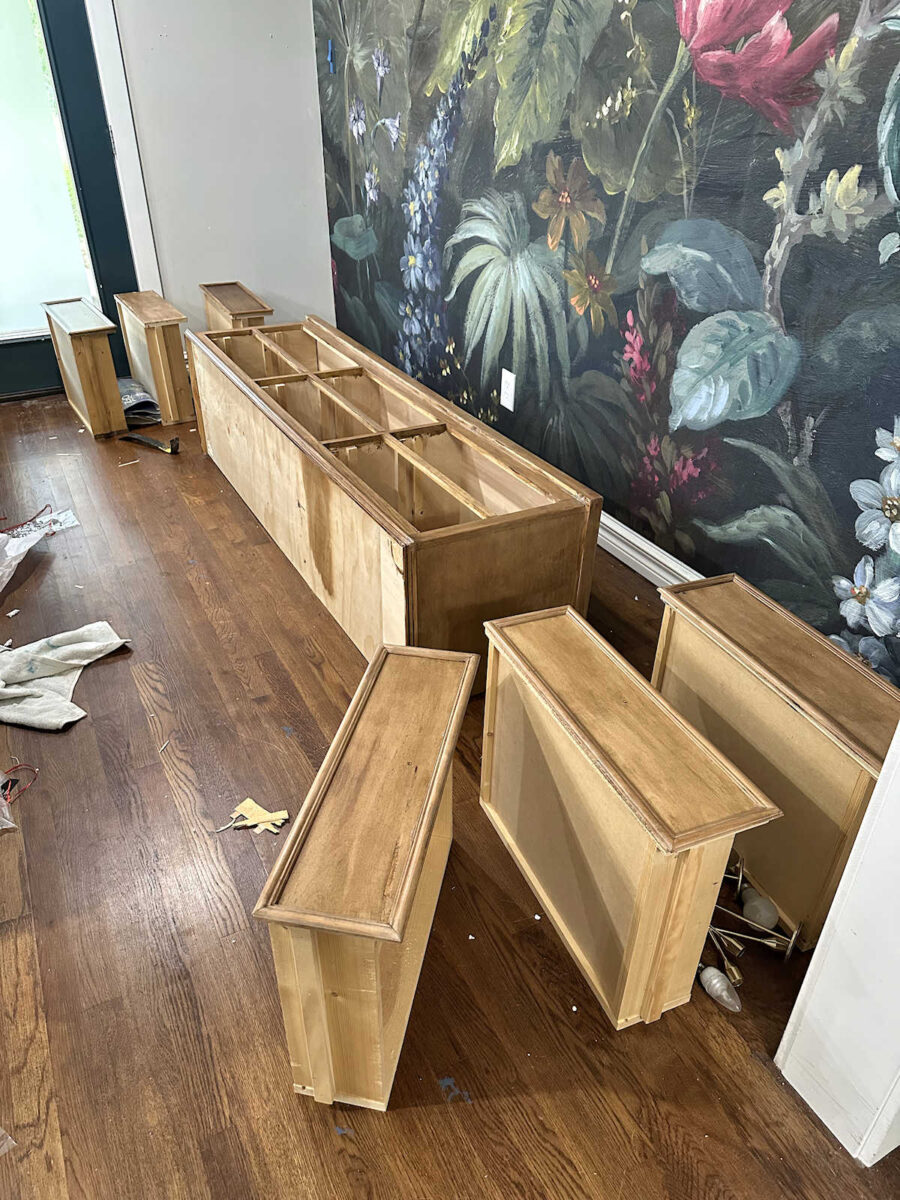
But to satisfy the curiosity of those who wondered if it might make a difference, here’s a drawer (the one that’s missing the trim) before using acetone…

And here it is after using acetone. There’s literally no difference in the color. And this splotchy color is what causes the problem.
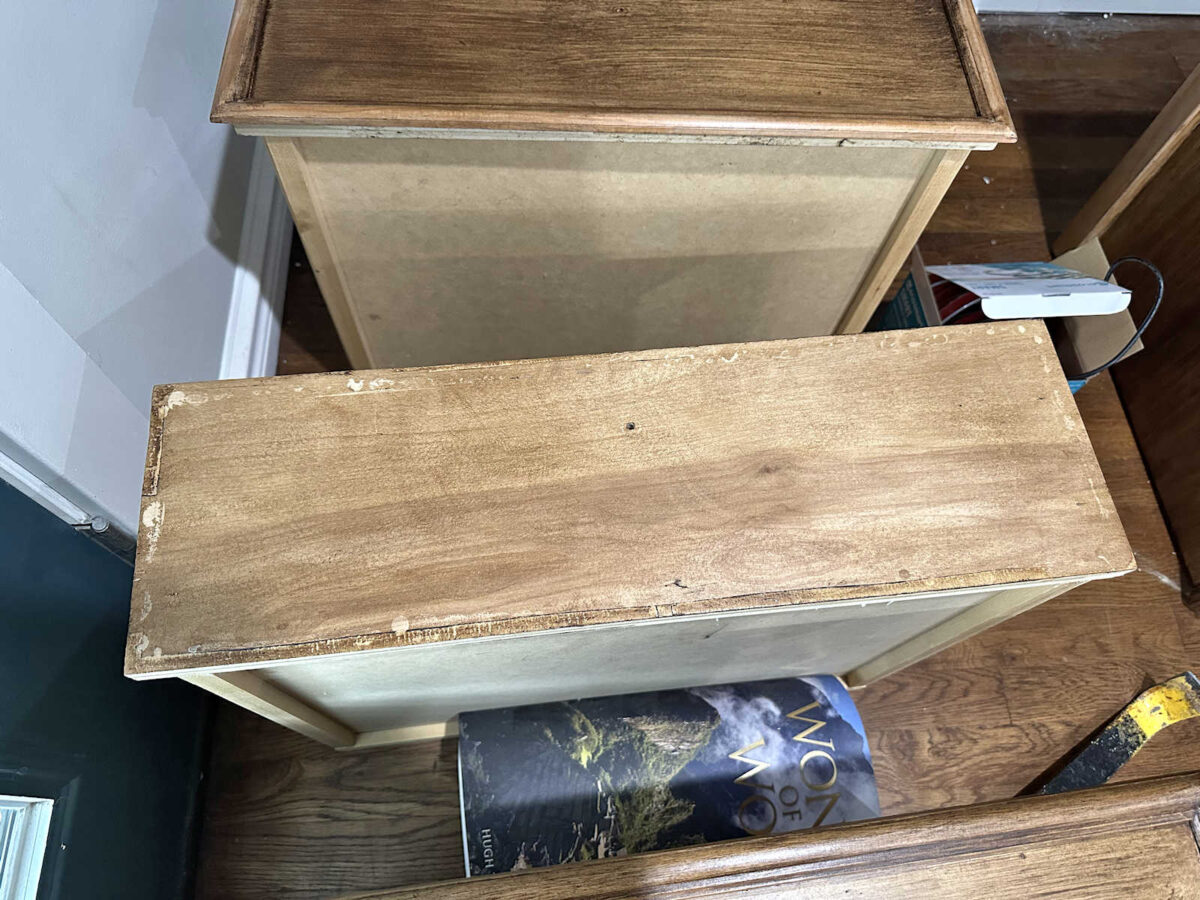
The man at Benjamin Moore didn’t recommend acetone to help with the color issue. He recommended it because he thought it might be needed to remove any buildup of wax to help with adhesion. But adhesion wasn’t an issue because there was so little wax left at this point. All that to say that no, it wouldn’t have made a difference in the outcome. And no, I don’t accept any shame for skipping that step. 😀
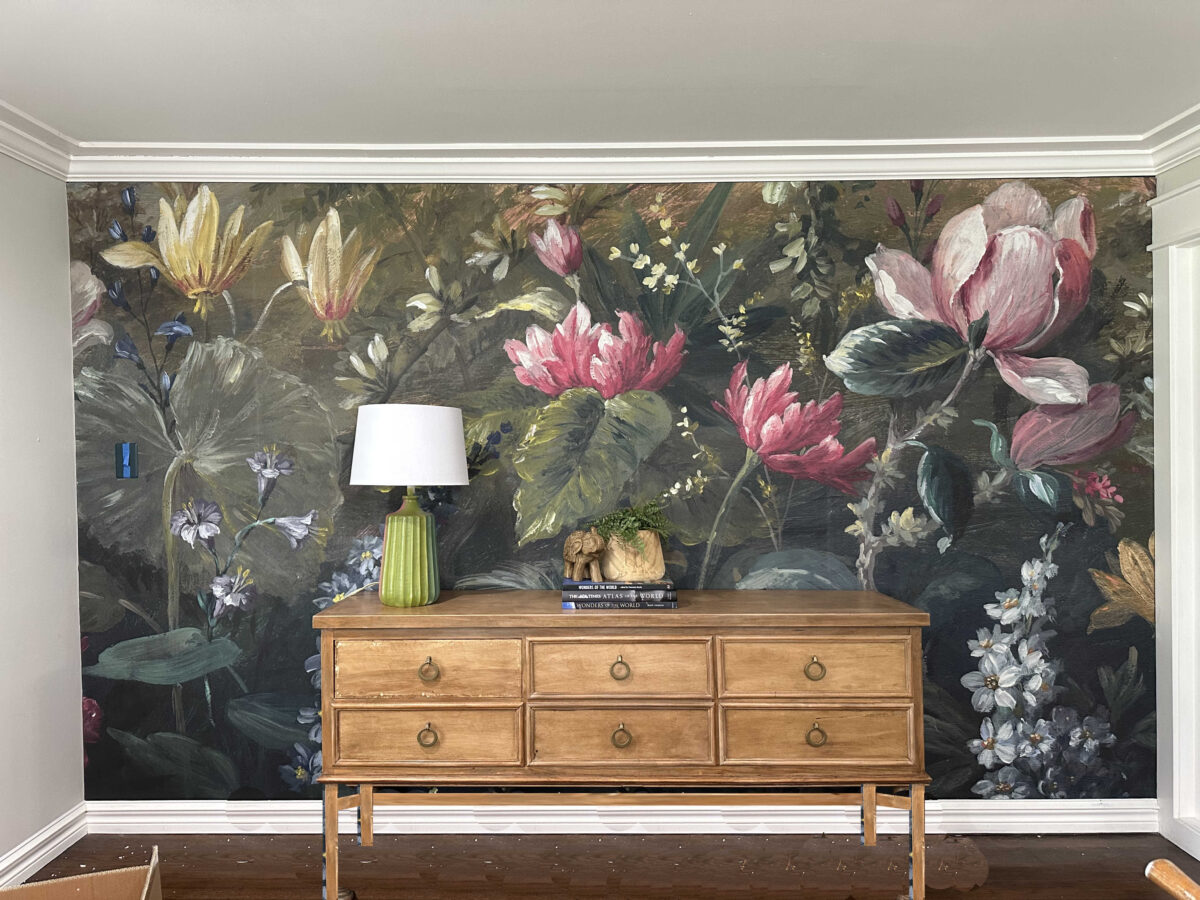
Okay, moving on. After reading all of your comments about the proposed new base for the console table, which looked like this in my very quick mockup…
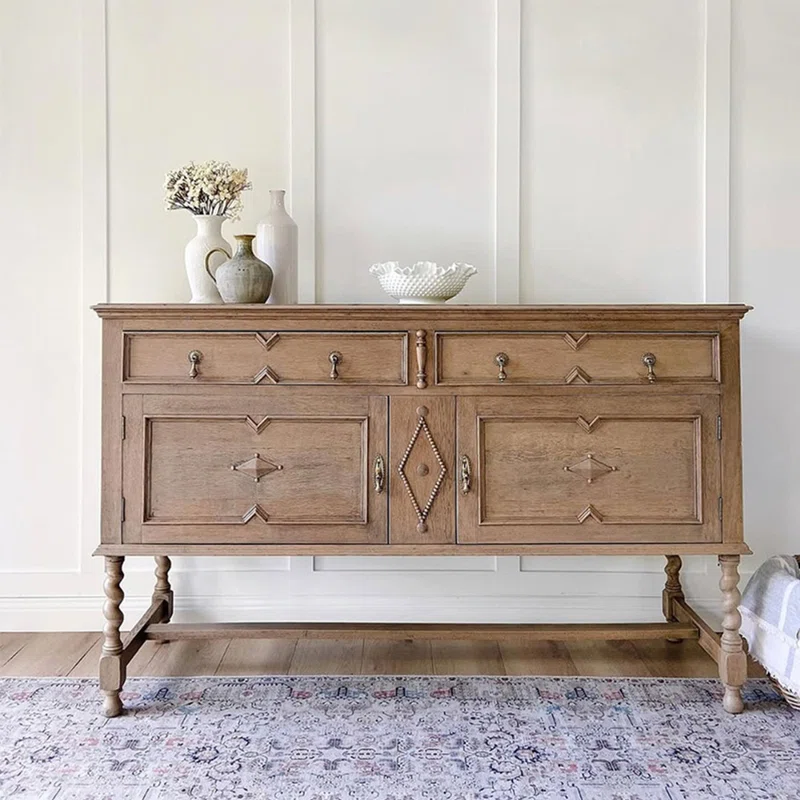
…several people said they prefer the turned legs. And y’all know how I feel about turned wood legs. I love turned wood legs and want them on everything, if possible! And someone included a link to this sideboard from Wayfair (affiliate link). So I decided to see if I could make this work.
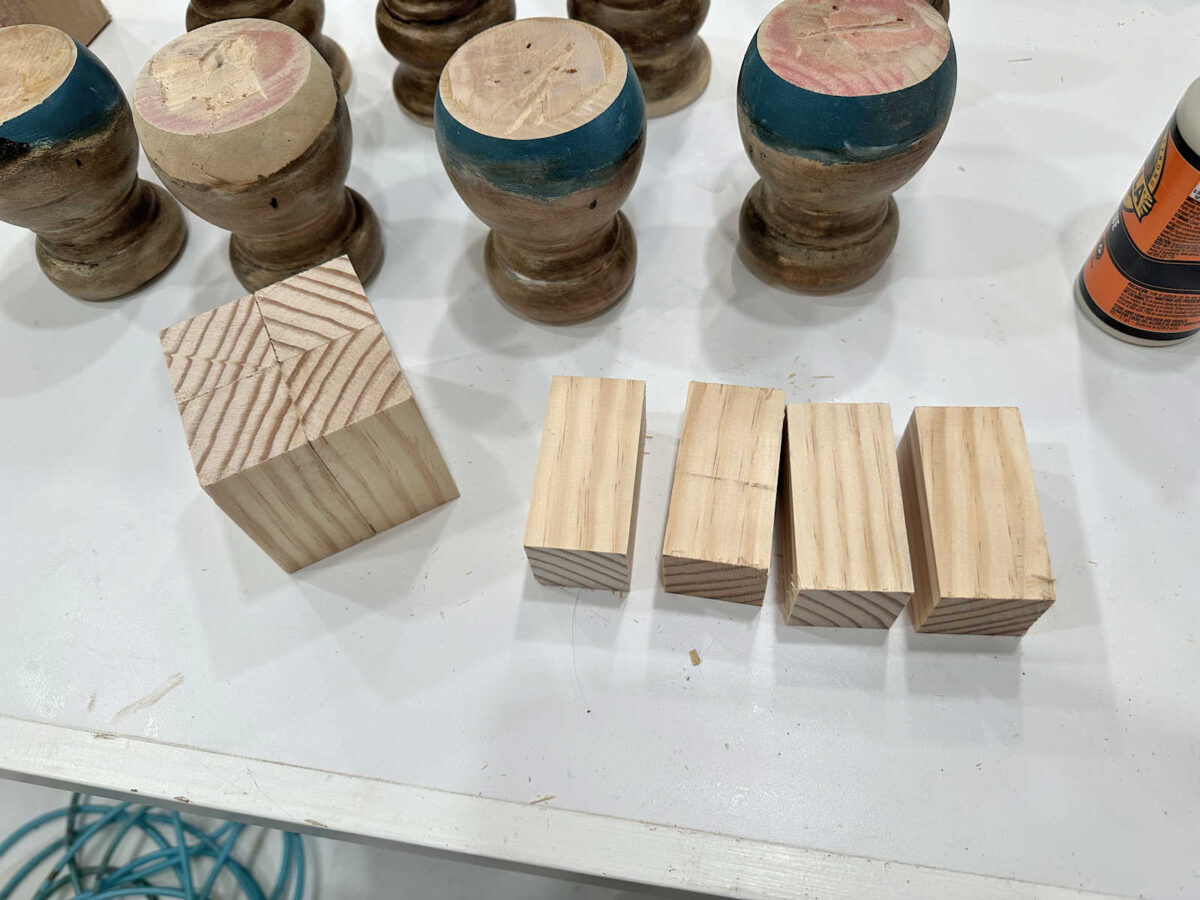
In order to do that, I’d need to add wood blocks to the turned legs to have a place to attach those stretchers. (I’m not sure if that’s what they’re called, but I call them stretchers — the pieces that attach the legs together and give them stability.) Because of the way I had built the original console table with the turned legs and the shelf, these legs were already in two separate pieces, giving me the perfect place to add a block.
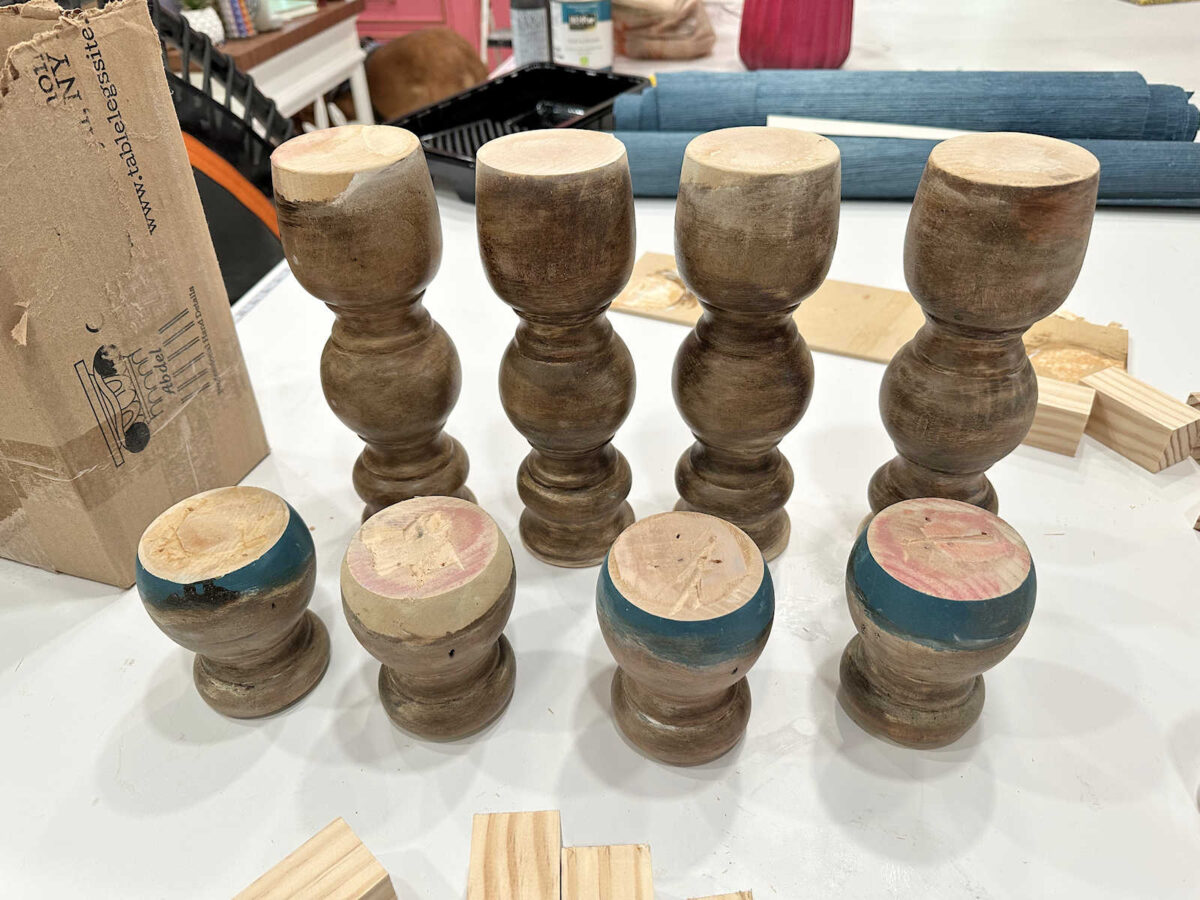
So I made blocks out of 2″ x 2″ lumber, gluing and nailing them together. I didn’t bother wood filling and sanding them at this point because I just wanted to see if I liked the idea. And I also didn’t take the time to sand down the corners to round them off like the inspiration picture.
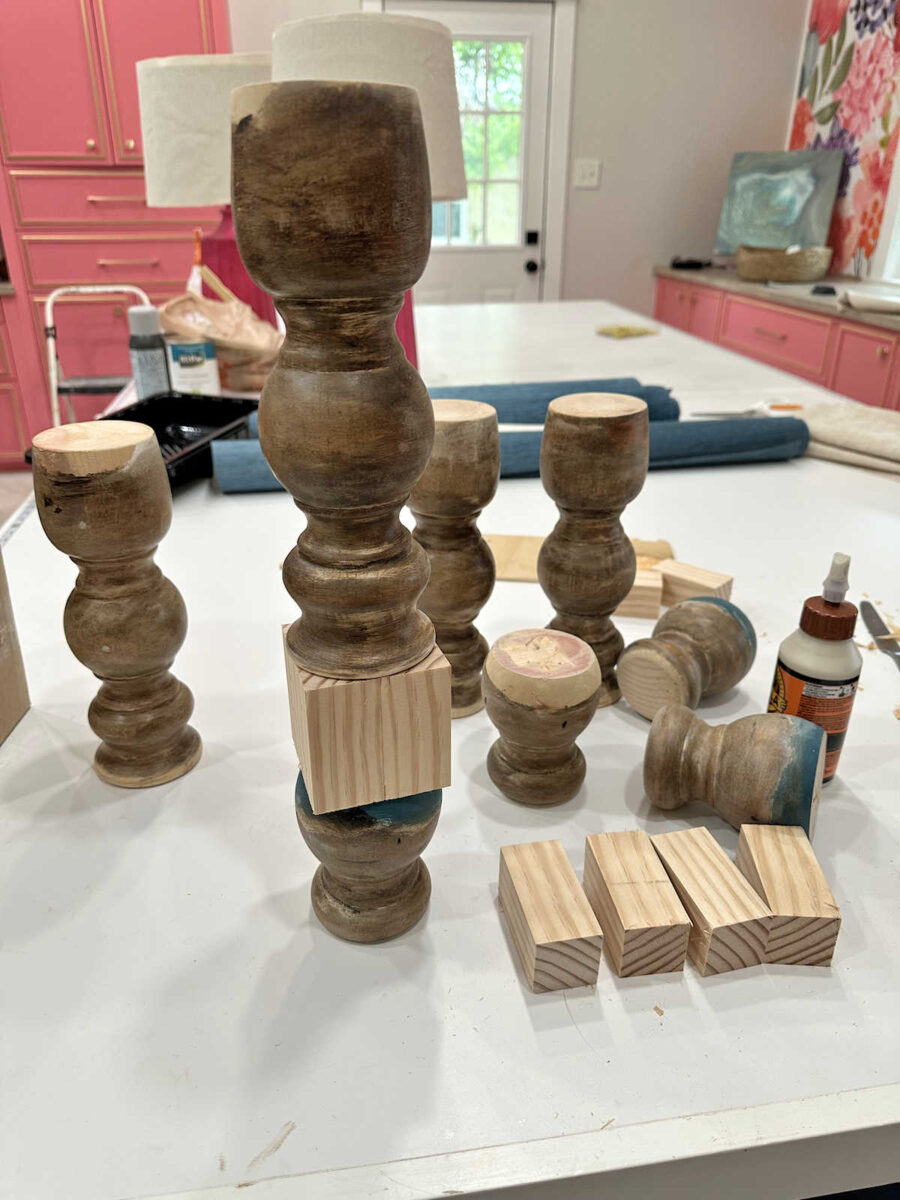
With one of the blocks made, I tested out the idea. I originally liked it. I knew I could make it work if I went this direction.
But in order to account for the additional height of the block, I would have to cut off the equivalent height from the top of the legs. And that’s what gave me pause.
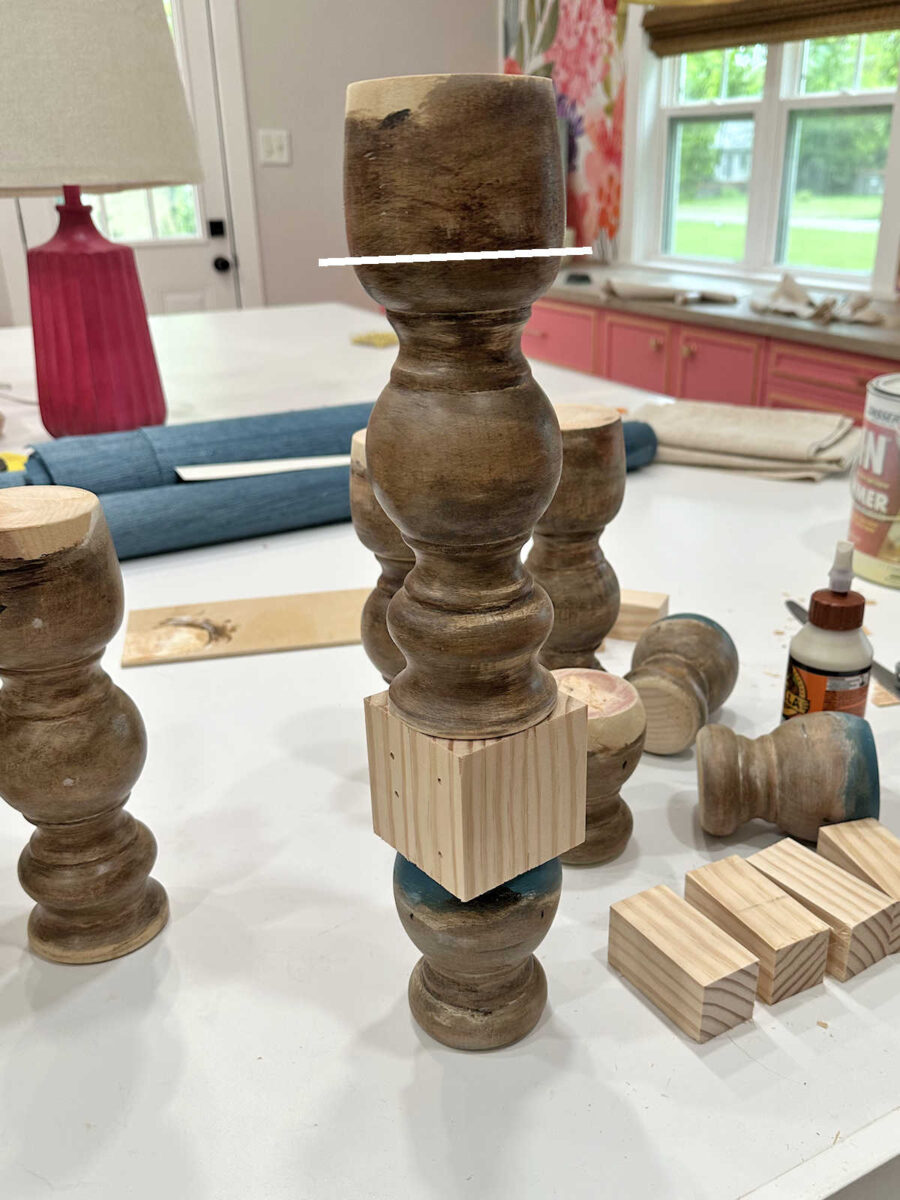
I don’t really have a good way to cut off turned legs and make sure that they’re perfectly straight and smooth on top. The only way I’ve done this in the past is with my miter saw, but getting that top perfectly straight is a challenge. I’d even say it’s impossible when trying to cut a leg that’s already turned. And really, I didn’t want to cut more of the turned design off of the legs.
So I glued and nailed the two pieces of each leg back together, just like they had been years ago before I ever cut them apart for this console table. And I used wood filler where the two pieces met.
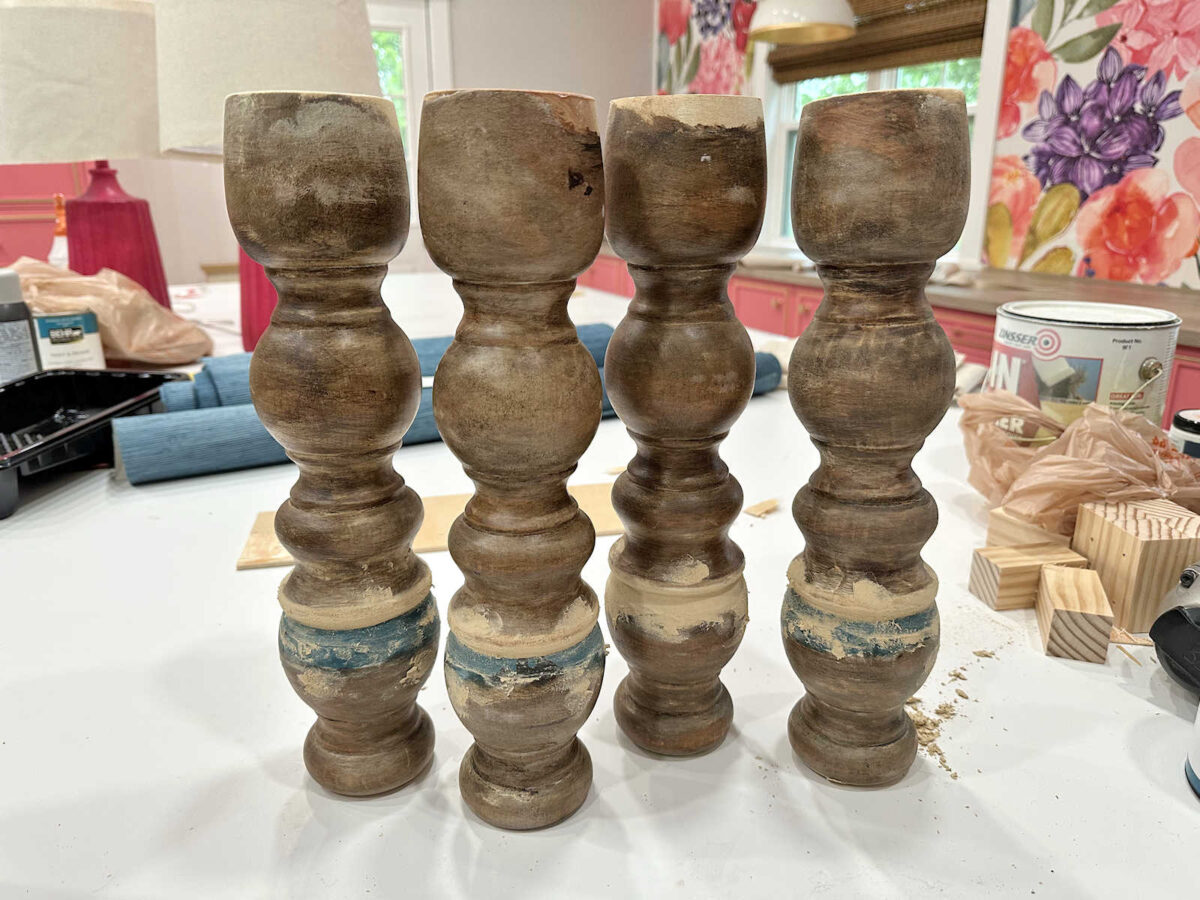
But as I was waiting for the wood filler to dry so that I could sand them, I could not, for the life of me, figure out how to attach these in a way that they’d be perfectly straight and steady. Most legs like that have a block at the top that is integrated into the build of the body of the console table. These didn’t have a block at the top. And even if they did, integrating it into the body of the console table would mean I’d pretty much have to rebuild it, and I’m not willing to do that.
So the legs would basically have to be stuck to the bottom, and I’d just have to hope and pray that they stay in place and don’t wobble. That didn’t seem like a wise decision to me.
So in the end, I’ve decided to save the turned legs for a future project. I’m not sure what that project will be at this point, but I never get rid of turned legs. And I’ve decided to go with my original idea of using straight lumber to build the new base with four very simple legs and three very simple stretchers to attach them. They’ll be thicker than the ones shows on my mockup, though. But at least I gave this a try. I gave myself one day of trying to problem solve and trying to make the turned legs work, but these legs have already been cut so many times with my miter saw that I don’t think there’s any salvaging them in a way that will make them sturdy enough for this console table.
The trial and error was fun, but now I have a plan, and I really want to get this console table finished and get my whole living room and entryway finished up so that I’ll be ready to head outside and get some outdoor projects done as soon as the sun decides to make an appearance.

Addicted 2 Decorating is where I share my DIY and decorating journey as I remodel and decorate the 1948 fixer upper that my husband, Matt, and I bought in 2013. Matt has M.S. and is unable to do physical work, so I do the majority of the work on the house by myself. You can learn more about me here.
Trending Products
